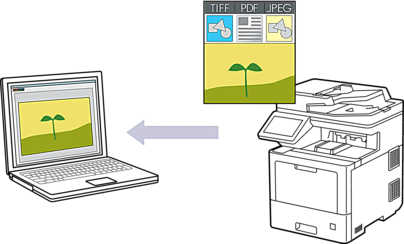
Home > Scan > Scan Using the Scan Button on Your Machine > Scan Photos and Graphics
Scan Photos and Graphics

Use the Scan button on the machine to make temporary changes to the scan settings. To make permanent changes, use Brother iPrint&Scan.
- Load your document.
- Press .
- If the machine is connected over the network, select the computer name where you want to send data.

If the LCD prompts you to enter a PIN for the computer, enter the four-digit PIN on the LCD, and then press [OK].
- To change the settings, press [Options], and then select the scan settings you want to change. If you use the default settings, skip this step.
- [2-sided Scan]
- [Scan Settings]
- [Color Setting]
- [Resolution]
- [File Type]
- [Document Size]
- [Brightness]
- [Contrast]
(available only for the [Color] and [Gray] options)
- [Auto Deskew]
- [Skip Blank Page]
- [Remove Background Color]
(available only for the [Color] and [Gray] options)
- [Moire Reduction]
- [B&W TIFF Compression]

To change scan settings, a computer with the Brother iPrint&Scan software installed must be connected to the machine.
If your machine displays the [OK] button, press [OK].
To save the settings as a shortcut, press [Save as Shortcut].
- Press [Start].The machine starts scanning. If using the machine's scanner glass, follow the touchscreen instructions to complete the scanning job.


