Home > Routine Maintenance > Clean the Machine > Clean the Laser Scanner Windows
Clean the Laser Scanner Windows
Before starting the cleaning procedure, see Related Information: Clean the Machine.
- Press and hold
 to turn the machine off.
 - Press the front cover release button and open the front cover.
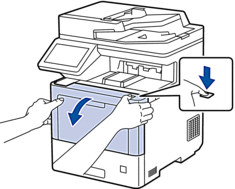
- Hold the drum unit's green labeled handle. Pull the drum unit out of the machine until it stops.
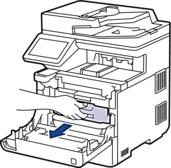
- CAUTION
- We recommend placing the toner cartridge and drum unit assembly on a clean, flat surface with disposable paper underneath it in case you accidentally spill or scatter toner.
- Holding the green labeled handles of the drum unit, lift the front of the drum unit and remove it from the machine.
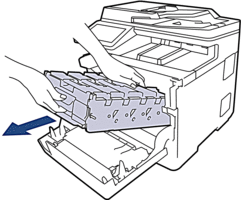
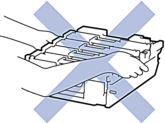
- IMPORTANT
-
Hold the handles of the drum unit when you carry it. DO NOT hold the sides of the drum unit.
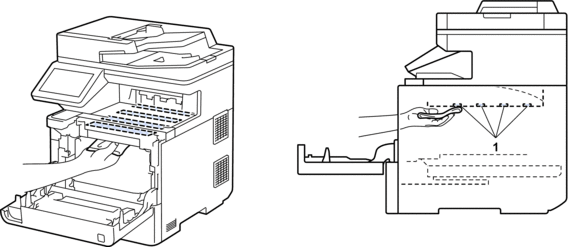
- Wipe the four laser scanner windows (1) with a dry, soft, lint-free cloth.
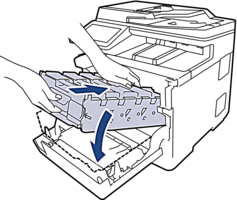
- Gently slide the drum unit into the machine until it stops.
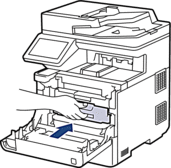
- Using the green labeled handle, push the drum unit back into the machine until it locks in place.
- Close the machine's front cover.
- Press
 to turn the machine on.
Did you find the information you needed?


