Home > Paper Handling > Load Paper > Load Paper in Paper Tray #1 > Load A3, Ledger, or Legal Size Paper in Paper Tray #1
Load A3, Ledger, or Legal Size Paper in Paper Tray #1
- If the [Check Paper] setting is set to [On] and you pull the paper tray out of the machine, a message appears on the LCD, allowing you to change the paper size and paper type.
- When you load a different paper size in the tray, you must change the Paper Size setting in the machine or the paper size setting on your computer.
Doing this enables the machine to automatically feed paper from the appropriate tray if Auto Tray Select has been set in the printer driver (Windows) or on the machine.
- If the paper support flap (1) is open, close it, and then close the paper support (2).
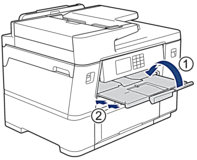
- Pull the paper tray completely out of the machine as shown by the arrow.
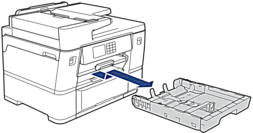
- Rest the tray on a flat surface.
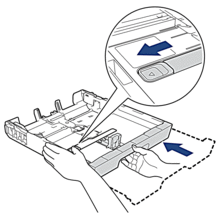
Push the green slider to the left and then extend the tray until it locks into place.
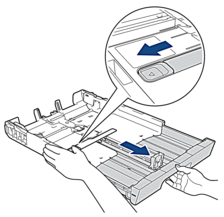
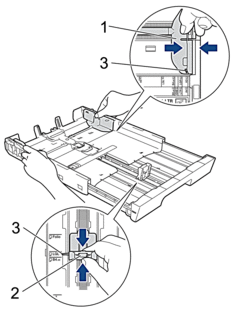
- Gently press and slide the paper width guides (1) and then the paper length guide (2) to fit the paper size.Make sure the triangular mark (3) on the paper width guide (1) and paper length guide (2) line up with the marks for the paper you are using.
- Fan the stack of paper well to avoid paper jams and misfeeds.
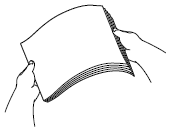
 Always make sure the paper is not curled or wrinkled.
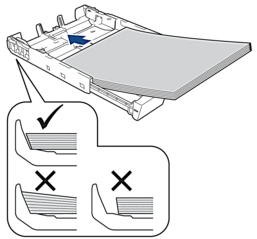
 - Gently load paper in the paper tray with the printing surface face down.
Portrait orientation
- IMPORTANT
- Be careful not to push the paper in too far; it may lift at the back of the tray and cause paper feed problems.
 To add paper before the tray is empty, remove the paper from the tray and combine it with the paper you are adding. Always fan the stack of paper well to prevent the machine from feeding multiple pages.
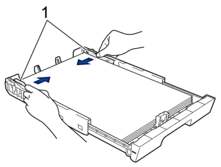
 - Make sure the paper length guide (1) touches the edges of the paper.
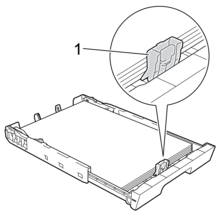
- Gently adjust the paper width guides (1) to fit the paper.Make sure the paper guides touch the edges of the paper.
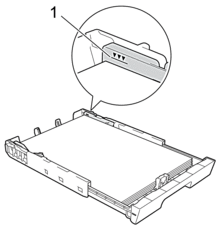
- Make sure the paper is flat in the tray and below the maximum paper mark (1).Overfilling the paper tray may cause paper jams.
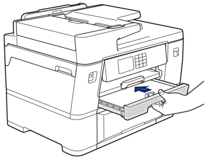
- Slowly push the paper tray completely into the machine.
- IMPORTANT
-
DO NOT push the paper tray into the machine forcefully or quickly. Doing this may cause paper jams or paper feed problems.
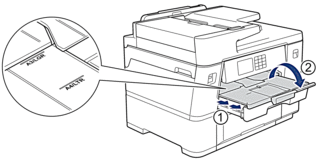
- Pull out the paper support (1) until it locks into place, and then unfold the paper support flap (2).
- Change the paper size setting in the machine's menu, if needed.
- CAUTION
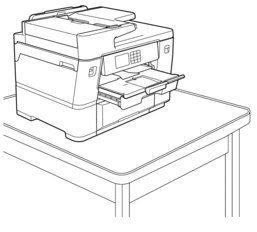
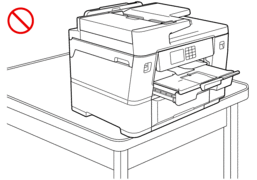
- Position the machine so the tray will not protrude past the edge of the table or desk where someone may bump into it. The machine could fall and cause injury.

Before you collapse the paper tray, take the paper out of the tray.
Rest the tray on a flat surface.
Push the green slider to the left and then push in the front of the tray to collapse it until it locks into place. Put the paper in the tray.
