Home > Print > Print from Your Computer (Mac) > Print Options (Mac)
Print Options (Mac)
Page Setup
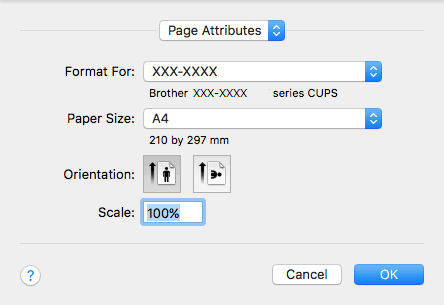
- Paper Size
- Select the size of the paper you want to use. You can either choose from standard paper sizes or create a custom paper size.
- Orientation
- Select the orientation (portrait or landscape) of your printout.
If your application contains a similar setting, we recommend that you set the orientation using the application.
- Scale
- Type a value into the field to enlarge or reduce the pages in your document to fit the selected paper size.
Layout
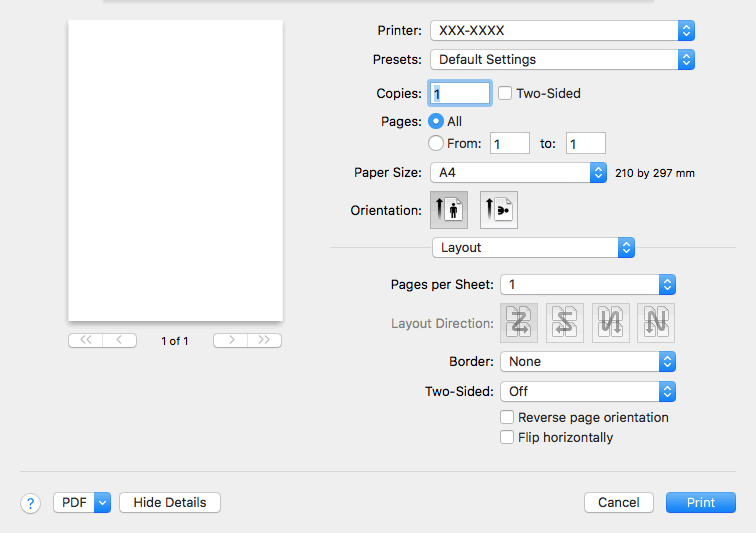
- Pages per Sheet
- Select the number of pages to print on a single sheet of paper.
- Layout Direction
- Select the page order when printing multiple pages on a single sheet of paper.
- Border
- Select the type of border to use when printing multiple pages on a single sheet of paper.
- Two-Sided (Available only for certain models)
- Select whether to print on both sides of the paper.
- Reverse page orientation
- Select this option to rotate the printed image 180 degrees.
- Flip horizontally
- Select this option to reverse the printed image on the page horizontally from left to right.
Paper Handling
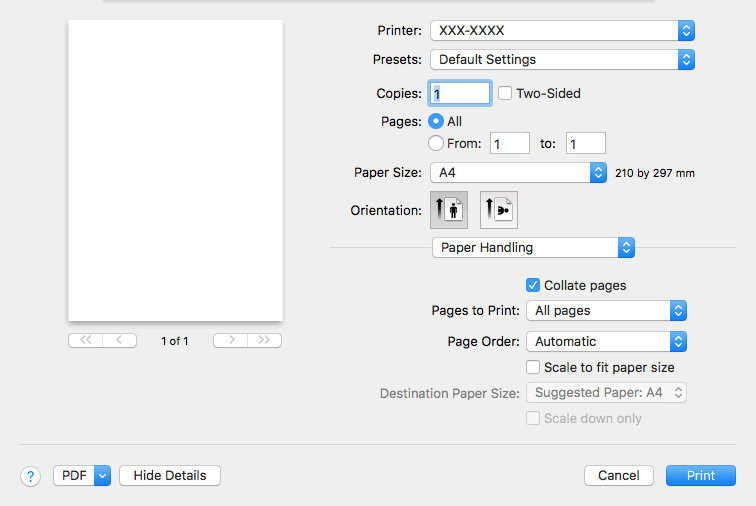
- Collate pages
- Select this option to print sets of multi-page documents in the original page order. When this option is selected, one complete copy of your document will print, and then reprint according to the number of copies you choose. If this option is not selected, then each page will print according to the number of copies chosen before the next page of the document is printed.
- Pages to Print
- Select which pages you want to print (even pages or odd pages).
- Page Order
- Select the page order.
- Scale to fit paper size
- Select this option to enlarge or reduce the pages in your document to fit the selected paper size.
- Destination Paper Size
- Select the paper size to print on.
- Scale down only
- Select this option if you want to reduce the pages in your document when they are too large for the selected paper size. If this option is selected and the document is formatted for a paper size that is smaller than the paper size you are using, the document will be printed at its original size.
Print Settings
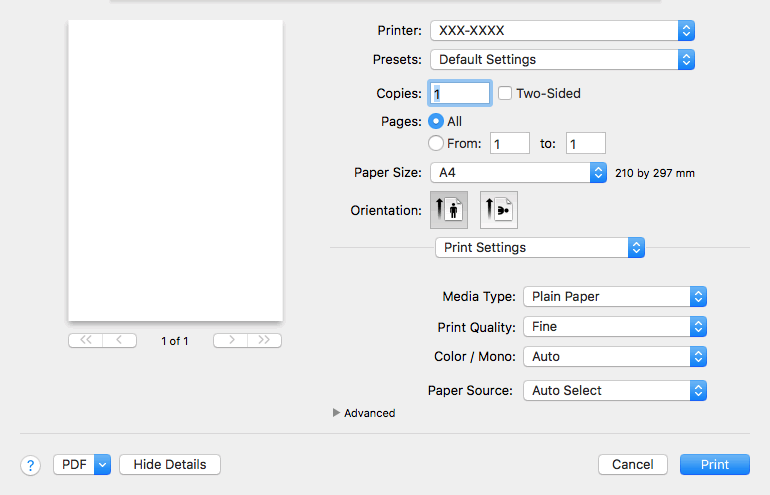
- Media Type
- Select the type of media you want to use. To achieve the best print results, the machine automatically adjusts its print settings according to the selected media type.
- Print Quality
- Select the print resolution you want. Because print quality and speed are related, the higher the quality, the longer it will take to print the document.
- Color / Mono
- Select the Colour/Mono settings to use.
- NOTE
-
- The machine’s colour sensor is very sensitive and may perceive faded black text or an off-white background as colour. If you know that your document is black and white and you want to conserve colour toner, select Mono mode.
- If either the Cyan, Magenta or Yellow toner reaches the end of its life while printing a colour document, the print job cannot be completed. Cancel your print job and select to start the print job again in Mono mode, as long as Black toner is available.
- Paper Source
- Select the paper source setting according to your print conditions or purpose.
- Advanced
-
- Toner Save Mode
- Select this feature to conserve toner by using less toner to print documents; printouts appear lighter, but are still legible.
- Improve Print Output
- Select this option to reduce the amount of paper curling and improve the toner fixing.
- Sleep Time
- Specify the amount of time that passes before the machine enters Sleep Mode.
- Quiet Mode
- Select this option to reduce printing noise.
- Other Print Options
-
- Skip Blank Page
- Select this option to allow the printer driver to automatically detect blank pages and exclude them from printing.
Color Settings
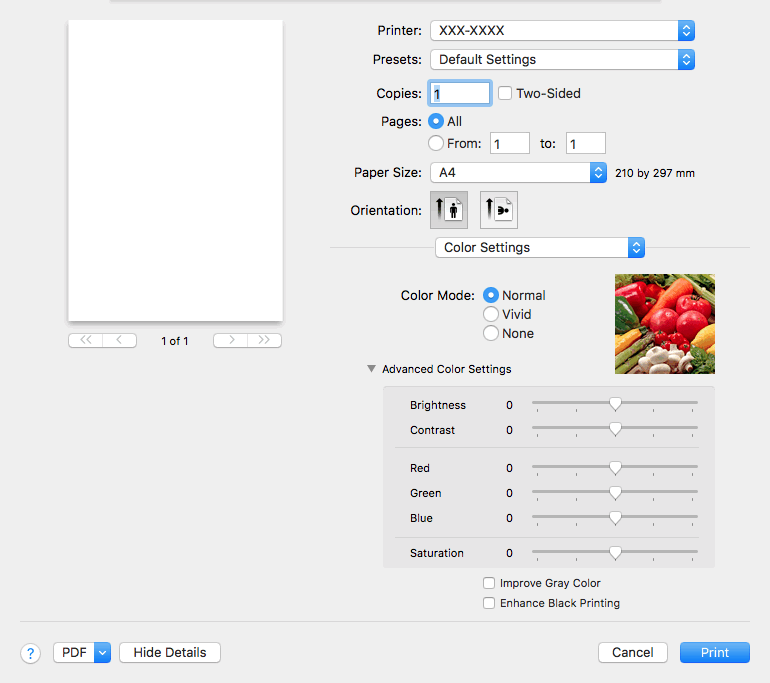
- Color Mode
- Select the colour mode to suit your preference.
- Advanced Color Settings
- Click the disclosure triangle to select the Colour Enhancement feature. This feature analyses your image to improve its sharpness, white balance and colour density. This process may take several minutes depending on the size of the image and the specifications of your computer.
Secure Print
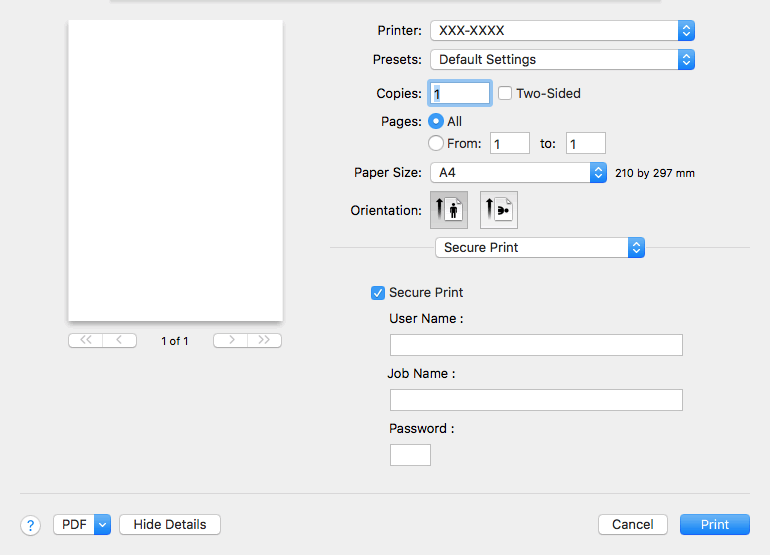
- Secure Print (Available only for certain models)
- This feature ensures that confidential or sensitive documents do not print until you enter a password on the machine's control panel.
Did you find the information you needed?


